Skip to main content
navigation
scroll up
Boston By Foot
Home
Calendar
Book Now
Donate
Tours
Walking Tours
Daily & Weekly
Monthly & Quarterly
Annual Events
New for 2024
Sails & Cruises
Private Tours
Additional Tours by Request
Virtual
2024 Winter Programming
Programs by Request
Accessibility
Learn More
FAQ
Discount Programs
Gift Cards
Get Involved
Become a Member
Corporate Membership
Become a Boston By Foot Volunteer
About Us
About Boston By Foot
Our History
Our People
Community Programs
Partners & Associates
Inclusion, Diversity, Equity & Access (IDEA)
News
Contact
Search
Calendar
Book Now
Donate
Français
Español
facebook
𝕏
twitter
instagram
tripadvisor
yelp
Our History
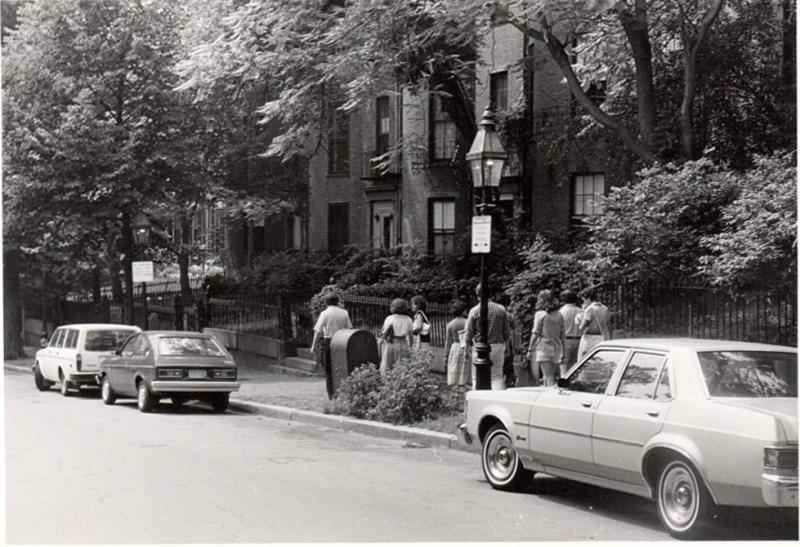
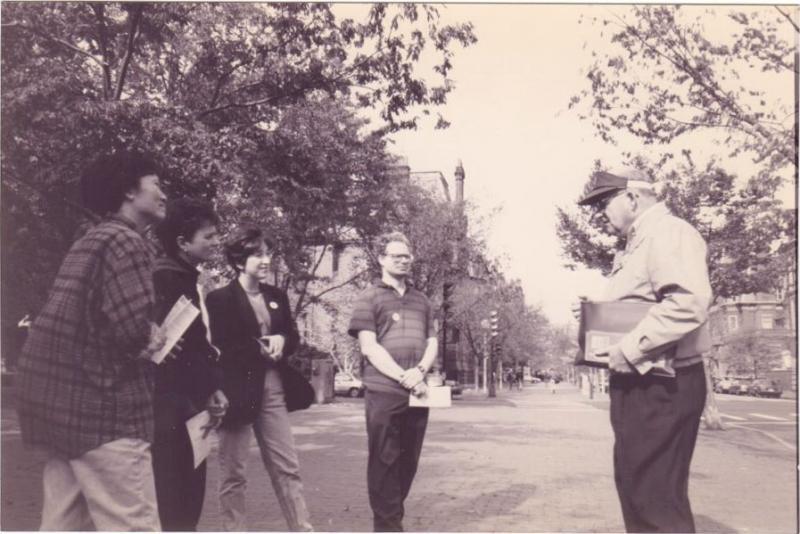
Photo Gallery
About Boston By Foot
Our History
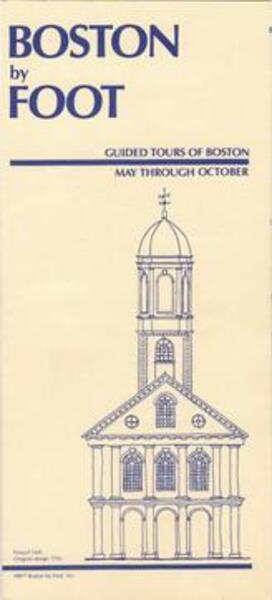
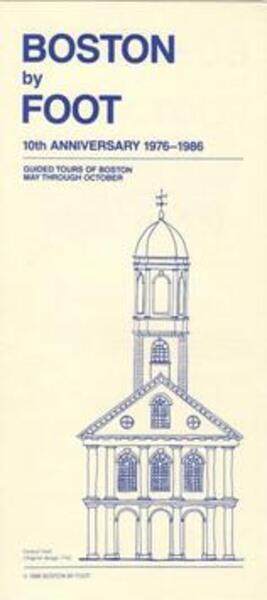
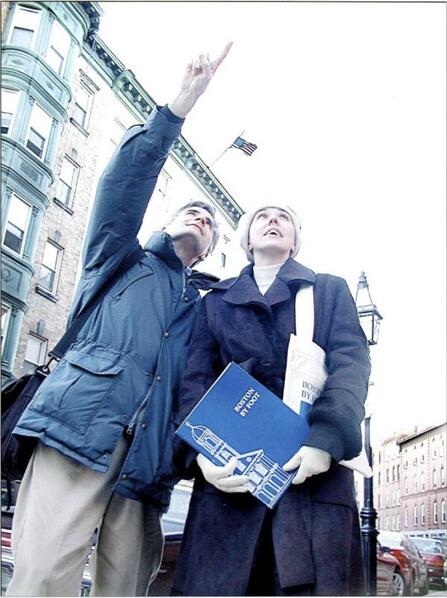
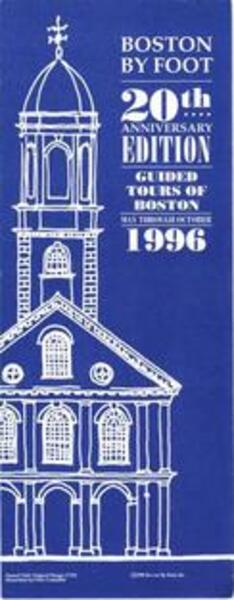
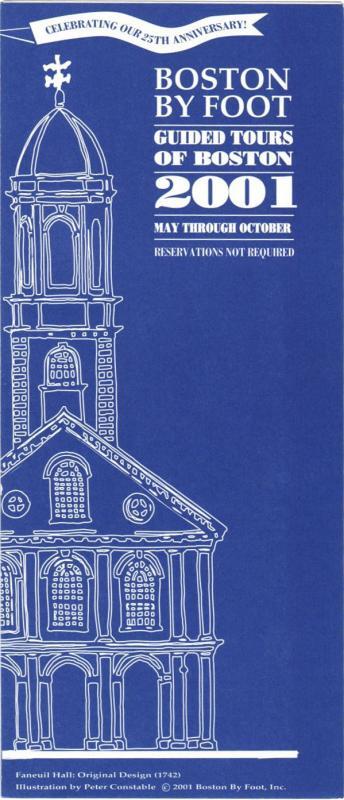
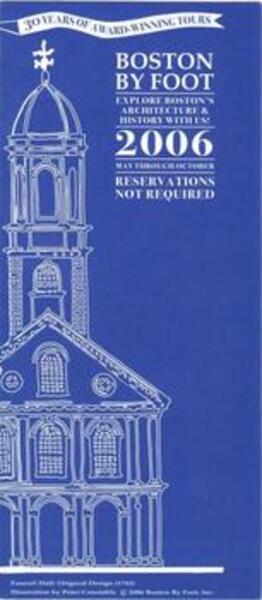
Walking tours of Boston since 1976
Timeline
Photo Gallery
Our 40th Anniversary Video
Our People
Community Programs
Partners & Associates